Setup the Project for Oculus
Follow this to setup my Unity Project for Oculus
Get Started with Meta Quest Development in Unity - this is a series of articles that shows you how to setup your project for the Oculus Quest. Some of the specific articles that I followed include:
- Set Up Development Environment and Headset
- Use Meta Quest Developer Hub and Meta Quest Link - I did this, but I don't know that I really needed to for what I am doing.
- Tutorial - Create Your First VR App on Meta Quest Headset - I probably would have followed this one if I didn't already do the steps I documented lower.
- Meta XR All-in-One SDK - this is the Meta asset that I installed to be able to do all the things in the tutorials. The tutorials include this, but I am also putting it here so it is easier to find.
After following the steps above my project was able to be built and run on the Oculus. However, I still needed to be able to move around the scene. In order to do that, I did the following:
Unity and Oculus Meta Quest - Lesson 01 Setting up Tutorial - this is a series of videos that shows how to develop for the Oculus in Unity.
Unity and Oculus Meta Quest 2 Tutorial 05 - Moving your player - this is a short video from that same series that shows you how to create an object that represents the player (OVRPlayerController) with the camera attached (OVRCameraRig) and then hook up the left and right hand controls. After this, you are able to walk around your scene and move the camera view just like you can in other Oculus games you are familiar with. I think I still need to hook this up to an object that can be seen in the game, like an avatar, or some other object so that other players can see me in a multiplayer game.
Things I did initially before I found the above series on youtube and the documentation on from Meta
Go to Edit -> Project Settings
Scroll down to the XR Plug-in Management section on the left and select the Android tab on the right (You can see the little Android robot icon)
Uncheck OpenXR and then check Oculus
Click the X in the top right of the window to save your changes and exit
Follow the steps on this page to build your project for Oculus:
After following those steps, it still didn't load for me on the Oculus. I'm not certain that the following steps fixed this for me, but after doing this (in addition to the steps above) and clicking Build and Run, then it loaded on the Oculus for me.
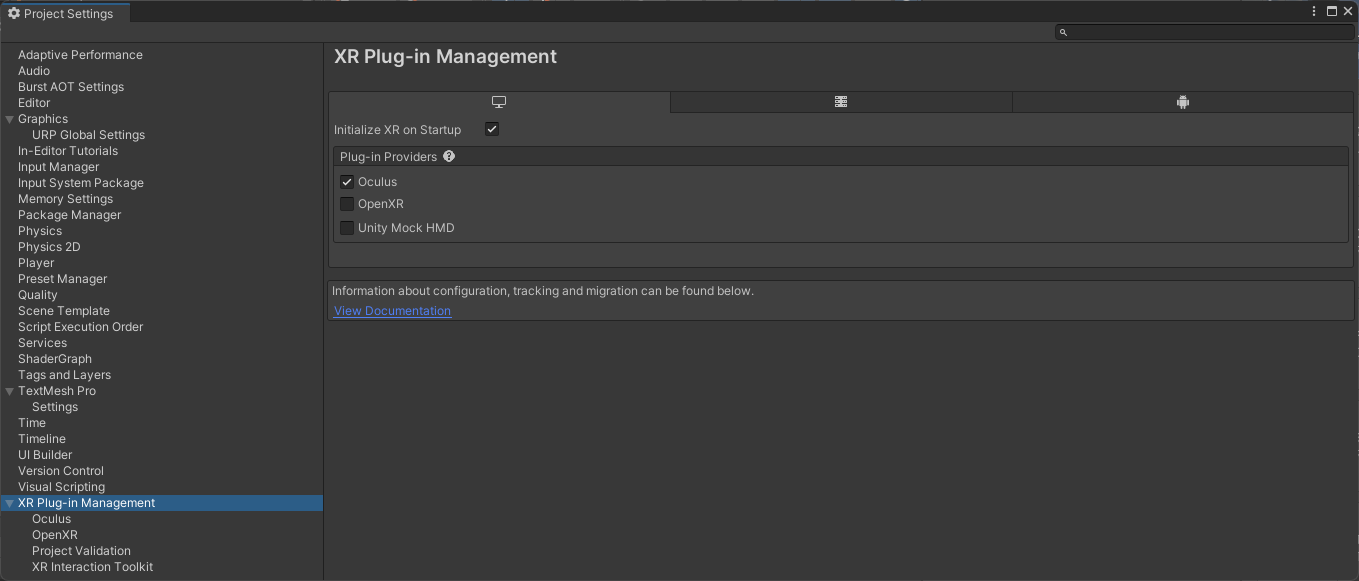
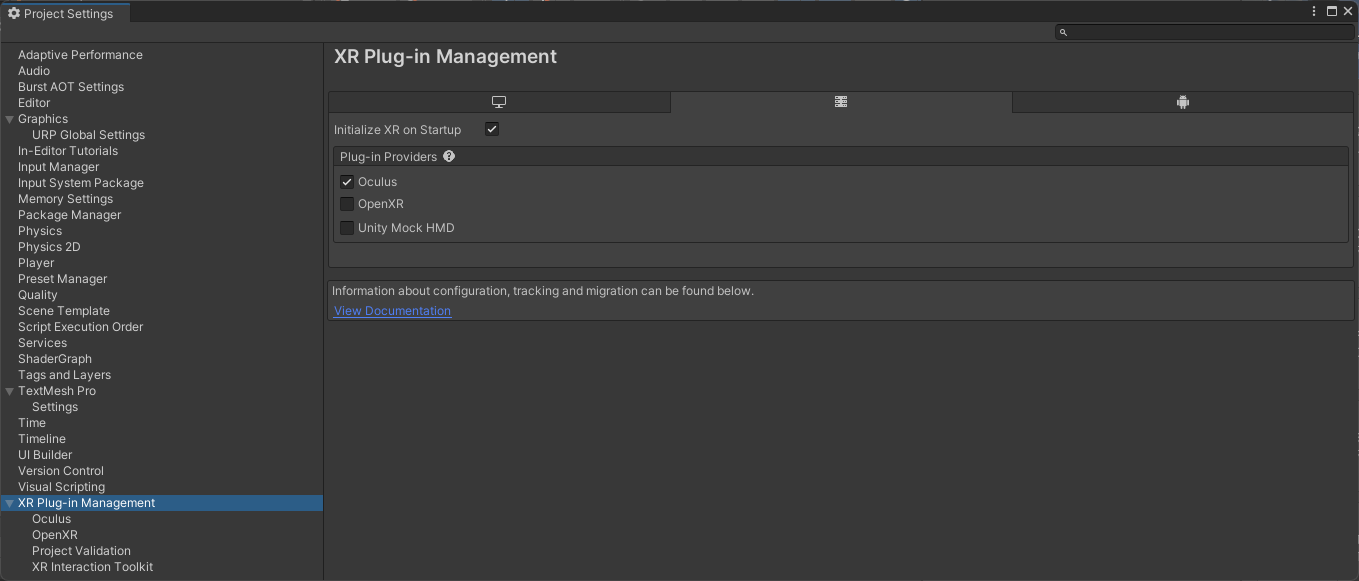
Go to Edit -> Project Settings -> XR Plug-In Management (Same as before)
Go to the Windows, Mac, Linux Settings tab and make sure the Oculus option was checked
Go to the Dedicated Server Settings tab and make sure the Oculus option was checked
If the game did not start immediately, then you can start it yourself
On the Oculus, Go to the Applications screen
Make sure the Unknown Sources option is selected in the dropdown menu at the top right. The All option will not show your game. Only the Unknown Sources option will.
Click your game to start it.


No comments:
Post a Comment